
 Pin it
3-Ingredient Chili Cheese Dip is the kind of snack that saves a busy night. You spread, pour, sprinkle, and bake. The oven does the real work while you open chips and clear a spot on the table.
I like it layered instead of stirred together. The cream cheese stays rich and soft on the bottom, the chili brings the savory bite, and the cheddar gives you that stretchy pull everyone reaches for first.
Only Three Big Flavors
The ingredient list is short, so each item matters. Choose a thick chili, fully soften the cream cheese, and use sharp cheddar if you want the top to taste bold instead of flat.
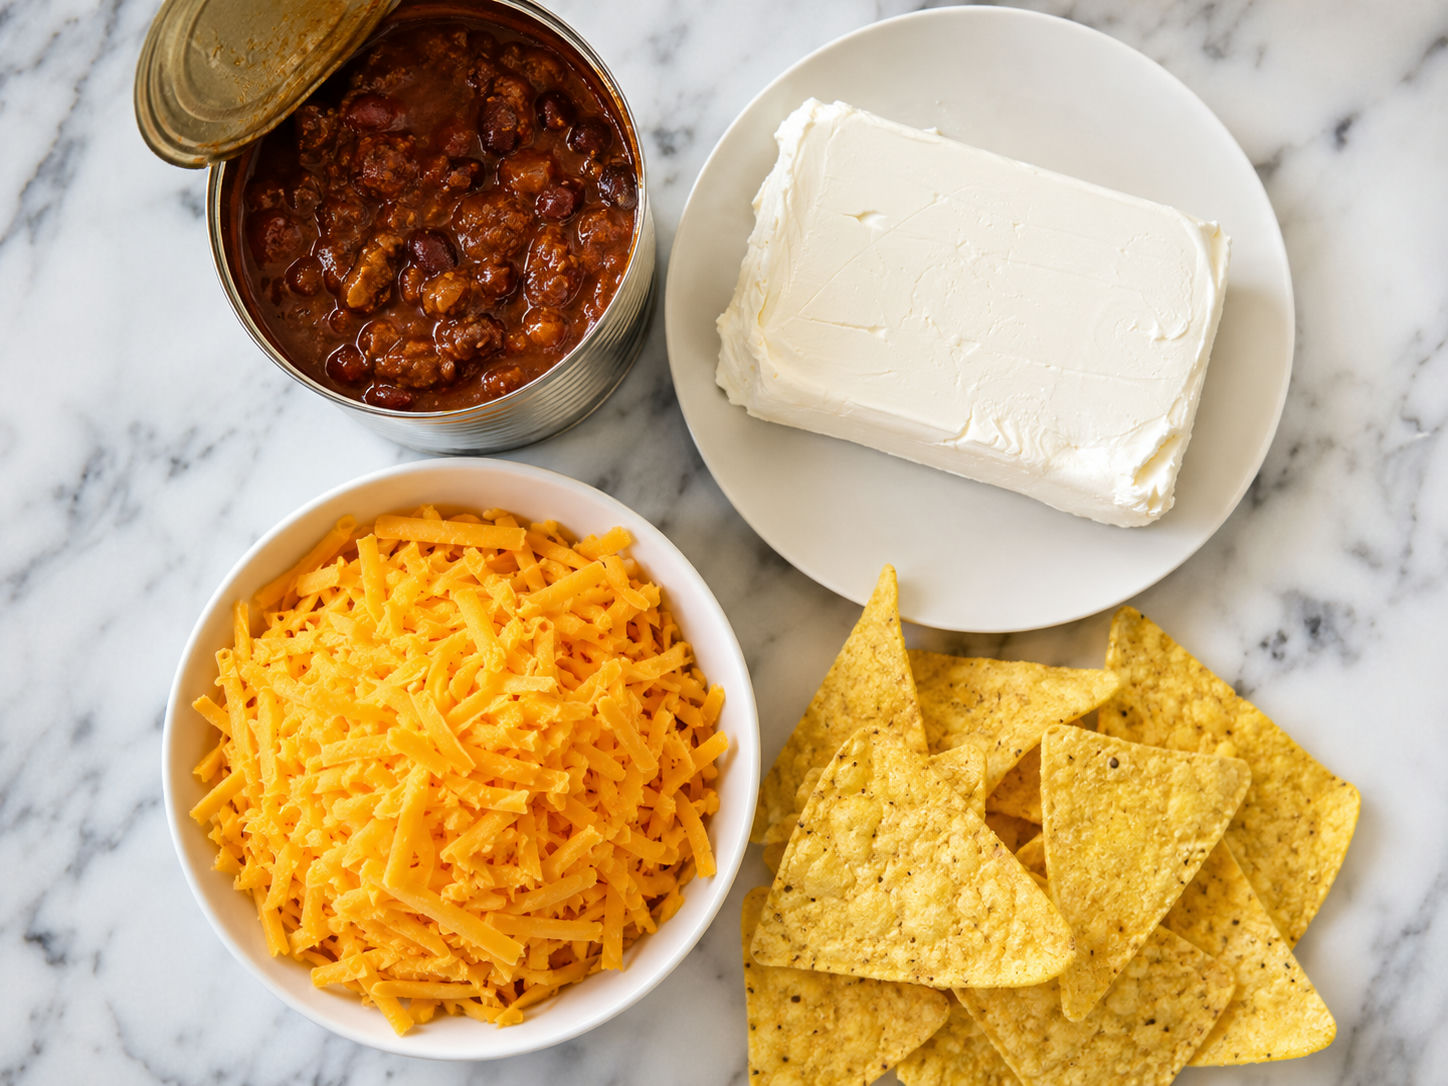
- Cream cheese. Makes the base creamy and rich, and it softens into a scoopable layer instead of disappearing into the chili.
- Canned chili. Brings the meat, beans if you want them, seasoning, and saucy heat in one ingredient.
- Sharp cheddar. Melts into the bubbly top layer and adds the salty cheese pull that makes the dip feel party-ready.
3-Ingredient Chili Cheese Dip Method
- Warm the oven. Heat the oven to 375°F so the dip bubbles quickly without drying out.
- Spread the cream cheese. Use softened cream cheese and push it into an even layer across the bottom of a small baking dish or oven-safe skillet.
- Add the chili. Spoon the chili over the cream cheese and smooth it to the edges. If the chili looks loose, leave a little liquid in the can.
- Cover with cheddar. Sprinkle the cheese evenly over the chili so every scoop gets a melted top.
- Bake until bubbling. Bake for 18-22 minutes, until the edges are hot and the cheese is fully melted. Rest 5 minutes before serving so it thickens slightly.

Soften The Base First
Cold cream cheese is the one thing that makes this dip harder than it needs to be. It tears under the spoon and leaves bare spots in the dish. Those spots are where chili liquid can pool as it bakes.
Set the block on the counter for 30-45 minutes before you start. If you forgot, microwave it unwrapped on a plate in 10-second bursts until it gives under a spoon but is not melted. A smooth base gives you a cleaner scoop and a better creamy layer.
Pick A Thick Chili
The chili controls the texture. Thick canned chili bakes into the cream cheese and holds together on a chip. Thin chili can separate into liquid and grease before the cheddar has time to melt.
No-bean chili gives the smoothest scoop. Chili with beans tastes heartier and still works, especially if you want this to feel more filling. If you are setting out a full snack table, this dip pairs naturally with Cheesy Pizza Dip and melty pepperoni pizza bombs.
Make It Spicier
You can keep the base recipe at three ingredients and still change the heat by choosing a spicy chili or pepper jack cheese. For toppings, add sliced jalapenos, scallions, diced tomato, cilantro, or a spoonful of salsa after baking.
If you want a sweet-hot drizzle for the table, try it next to hot honey chili ranch. A small spoon over one corner of the dip is enough. Too much sauce can thin the top.
Serve It Safely Hot
This dip is best during the first warm, stretchy half hour. For a longer party, keep it in a small slow cooker on warm or set out half at a time. The USDA says hot food should be held at 140°F or warmer, and perishable food should not sit out for more than two hours. You can read the USDA danger zone guidance for the full safety details.
Use sturdy dippers. Corn chips, scoop-style tortilla chips, pretzel crisps, and toasted baguette hold up better than thin chips. For more cheesy snack energy, add corn cheese balls to the same spread.
Leftovers That Reheat Well
Cool leftovers, cover them, and refrigerate in a shallow container. The USDA recommends using most cooked leftovers within 3-4 days, as explained in its leftovers safety guide.
Reheat small portions in the microwave in 20-second bursts, stirring between each one. For a larger amount, warm it covered in a 325°F oven until hot in the center. Add a spoonful of chili if it seems too thick after chilling.
Summary
Serve this dip straight from the baking dish while the cheddar is melted and the chili is bubbling at the edges. It is simple, filling, and easy to adjust with spicy chili or extra toppings.

Frequently Asked Questions
- Can I make 3-Ingredient Chili Cheese Dip ahead of time?
-
Yes. Assemble the cream cheese, chili, and cheddar in the baking dish, cover it, and refrigerate for up to 24 hours. Add 5 minutes to the bake time if it goes into the oven cold.
- Should I use chili with beans or without beans?
-
Both work. No-bean chili spreads into a smoother layer, while chili with beans makes the dip chunkier and more filling. The main thing is to use a thick chili so the dip does not turn watery.
- Can I use Velveeta instead of shredded cheddar?
-
You can, but the texture will be more like queso and less like a baked cheese layer. If you use it, cube it small and scatter it over the chili. Sharp cheddar gives a better browned top and a stronger cheese flavor.
- Why did my chili cheese dip turn greasy?
-
It may have baked too long, or the chili may have been thin. Drain off a little liquid from watery chili before layering. Shredding cheddar from a block also helps it melt more smoothly.
- How do I keep chili cheese dip warm for a party?
-
After baking, you can transfer it to a small slow cooker set to warm. Stir it every so often so the edges do not dry out. For food safety, keep hot dips hot and do not leave them at room temperature for hours.
- What should I serve with chili cheese dip?
-
Sturdy corn chips, tortilla chips, pretzel crisps, toasted baguette slices, and thick crackers all work well. Celery sticks and bell pepper strips are good if you want something fresh next to the rich dip.
References
Reliable references aided in composing and refining this content.
- https://www.thekitchn.com/three-ingredient-chili-cheese-dip-snack-23770749
- https://www.savoringthegood.com/hormel-chili-cheese-dip-recipe
- https://www.fsis.usda.gov/food-safety/safe-food-handling-and-preparation/food-safety-basics/danger-zone-40f-140f
- https://www.fsis.usda.gov/food-safety/safe-food-handling-and-preparation/food-safety-basics/leftovers-and-food-safety