
 Pin it
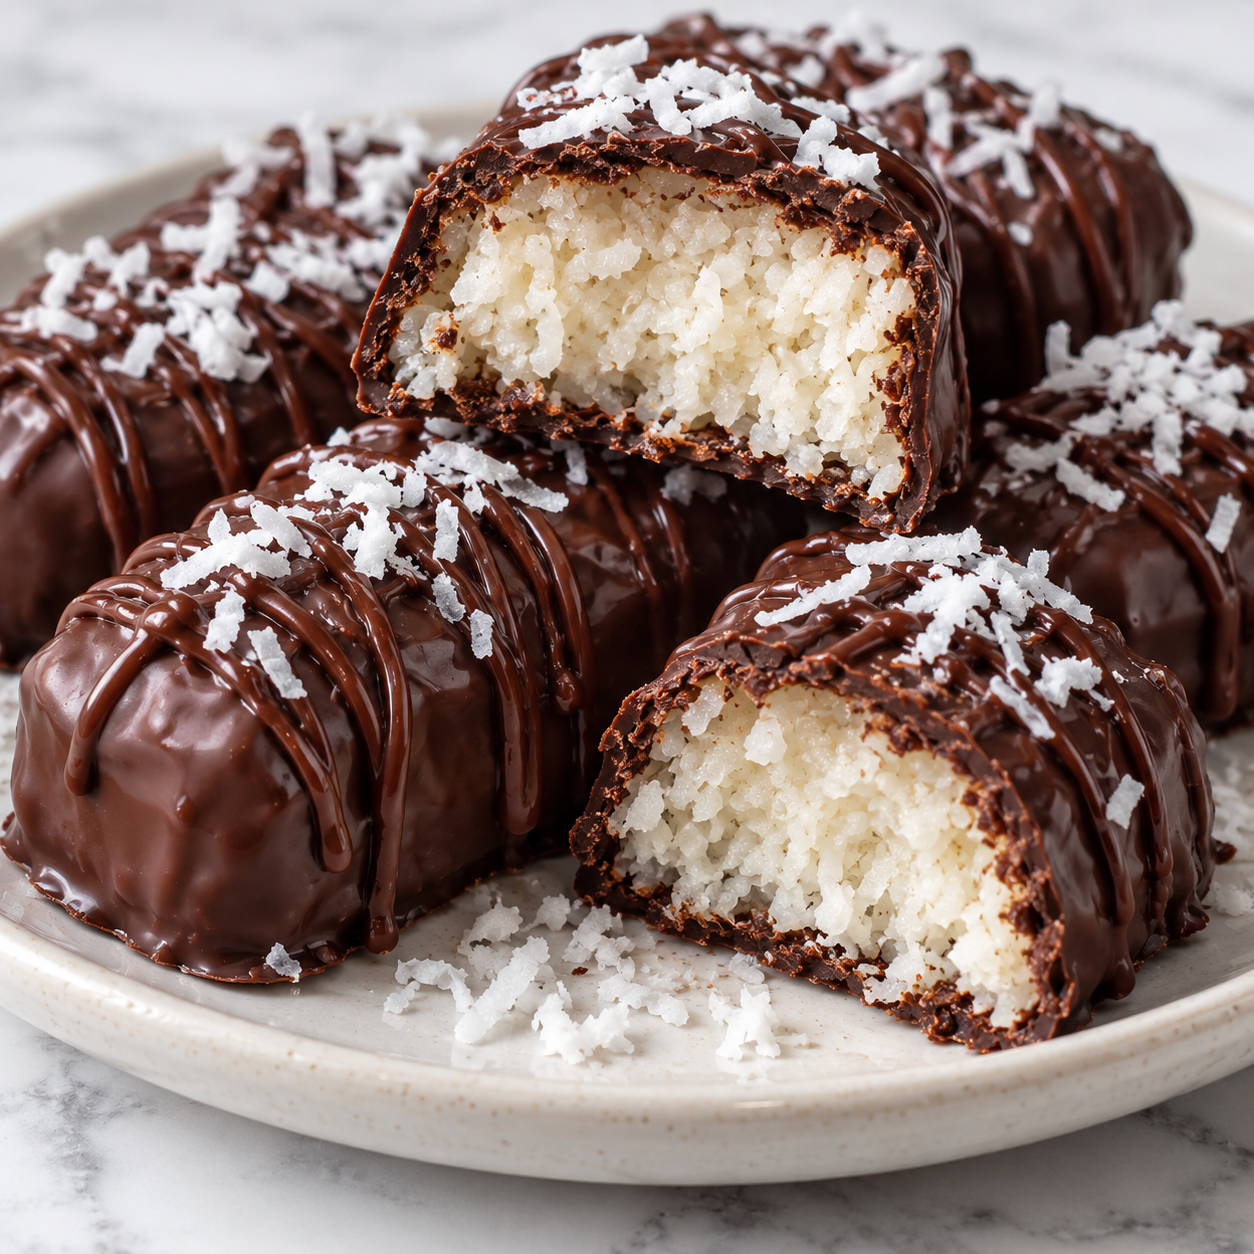
Homemade Mounds Bars 1st Recipes style are the kind of candy project that feels much easier than it looks. The filling is sticky, sweet coconut held together with condensed milk, then the chilled bars get a dark chocolate coat that cracks a little when you bite in.
I like this version because it keeps the ingredient list short but fixes the two places homemade candy can go wrong. The coconut mixture needs enough body to hold a bar shape, and the chocolate needs to be melted gently so it coats instead of clumping.
Coconut And Chocolate Basics
You only need a few ingredients, so each one matters. Use finely shredded coconut for a smoother candy-bar bite, and choose chocolate you enjoy eating plain because it becomes the main flavor on the outside.
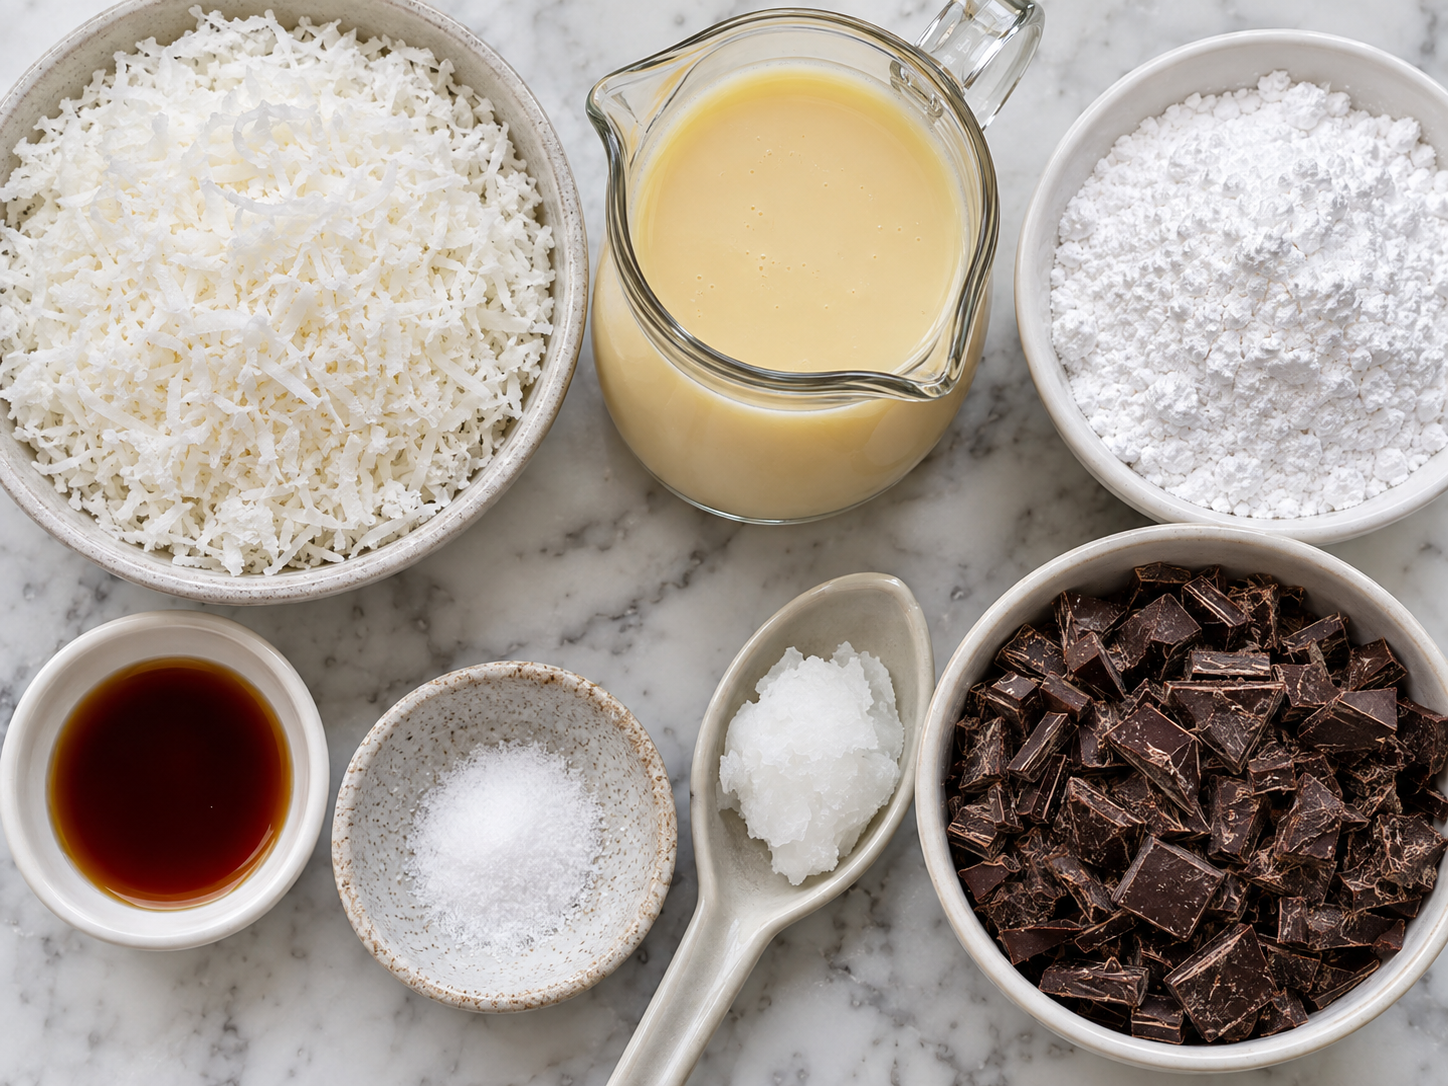
- Shredded coconut. Gives the bars their chewy body and clean coconut flavor.
- Sweetened condensed milk. Binds the coconut into a sticky filling that firms as it chills.
- Powdered sugar. Helps the filling hold its shape without making it gritty.
- Vanilla extract. Rounds out the sweetness and makes the coconut taste fuller.
- Fine salt. Keeps the bars from tasting flat under all that sweetness.
- Dark chocolate. Balances the sweet coconut center with a deeper cocoa edge, much like the classic Mounds chocolate coconut bar.
- Coconut oil. Thins the melted chocolate so dipping is smoother and cleaner.
Shape, Chill, And Dip
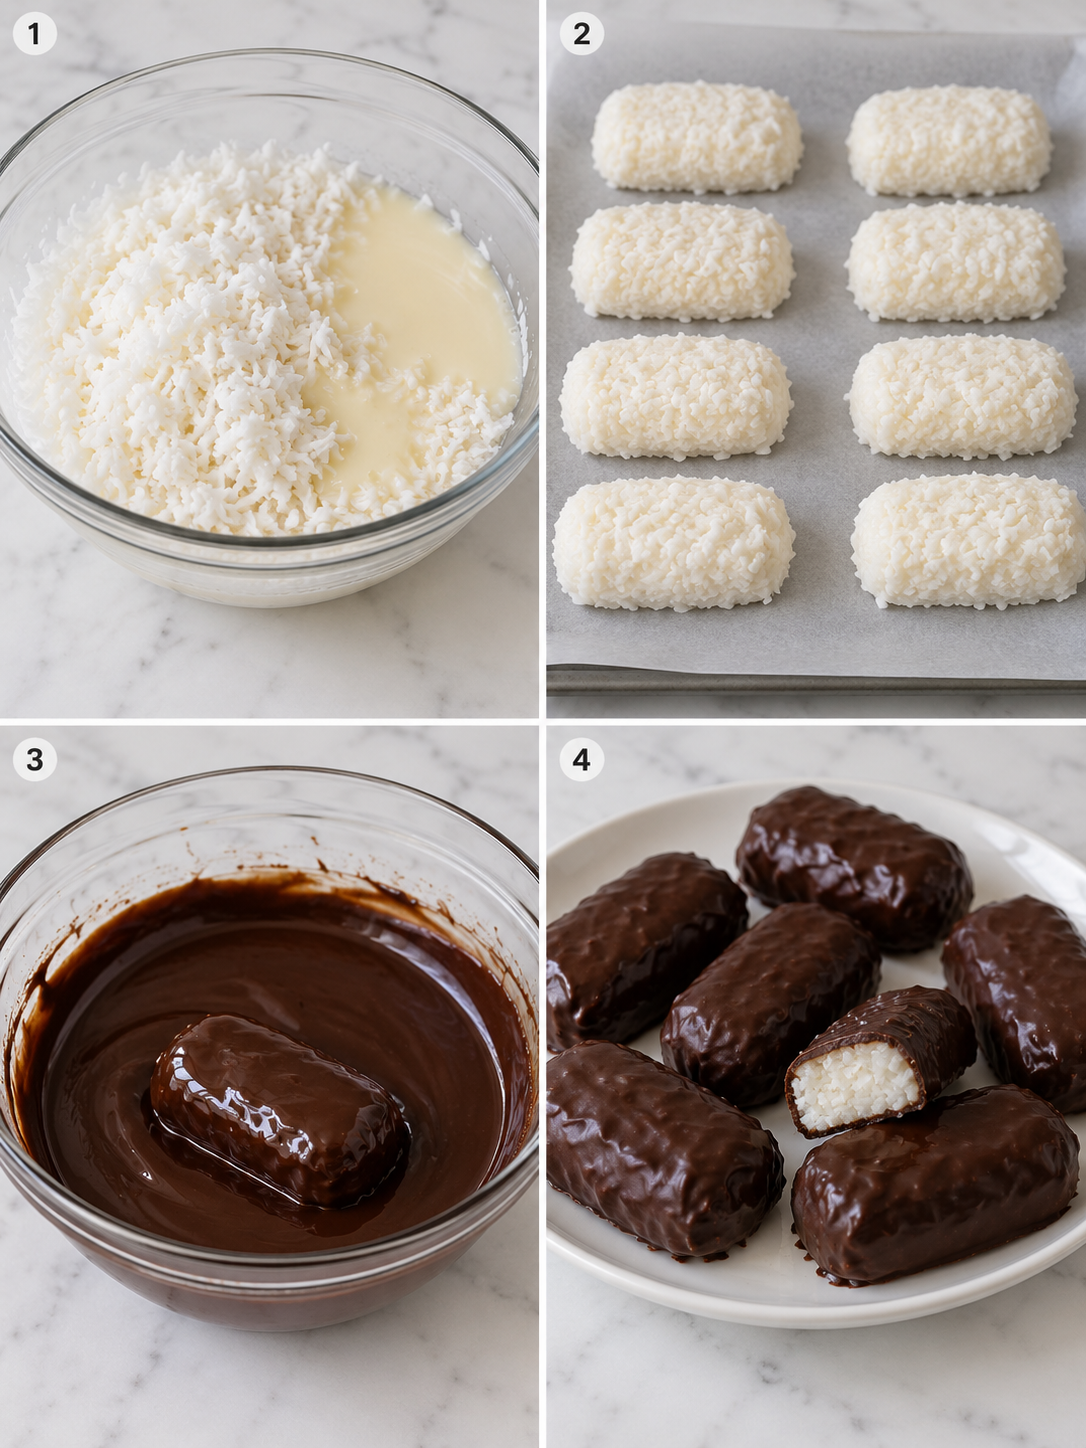
- Mix the filling. Stir coconut, condensed milk, powdered sugar, vanilla, and salt until every shred is coated and the mixture packs together when pressed.
- Form the bars. Scoop the filling into 12 portions, then shape each one into a short oval log with damp hands.
- Freeze until firm. Place the bars on a parchment-lined sheet and freeze for 25-30 minutes so they are solid enough to dip.
- Melt the chocolate. Warm chopped chocolate with coconut oil gently in short microwave bursts or over barely simmering water, stirring often until smooth.
- Coat each bar. Dip one chilled coconut bar at a time, lift with two forks, and let the extra chocolate drip back into the bowl.
- Set and serve. Place the dipped bars on parchment and chill for 15 minutes, then serve cold or let them stand briefly for a softer center.
The Filling Should Pack
The coconut mixture should feel sticky but not wet. Press a spoonful in your palm. If it crumbles, add condensed milk by the teaspoon. If it slumps into a puddle, add a small handful of coconut or a dusting of powdered sugar.
Damp hands make shaping easier. I shape the bars slightly smaller than store-bought candy because the chocolate coating adds bulk. For dessert trays, you can make 24 bite-size pieces instead. They look right at home beside buttered rum fudge or a pan of Lunch Lady Brownies.
Melt Chocolate Gently
Chocolate punishes high heat. Chop it small, warm it slowly, and keep every bowl and fork dry. Ghirardelli notes that even a little water can make melted chocolate seize, so wipe the bowl before you start and stir more than you heat. See their chocolate melting guide for the same low-heat approach.
You do not have to fully temper the chocolate for a home batch, but slow melting gives a smoother shell. Coconut oil helps too. It makes the coating fluid enough to cover the cold bars without dragging the filling apart.
Small Swaps That Work
Dark chocolate gives the closest Mounds-style balance, but semisweet chocolate works if you want a softer, sweeter finish. Milk chocolate makes the bars taste more like a coconut truffle. For a deeper flavor, toast one cup of the coconut and leave the rest untoasted so the filling stays moist.
A pinch of espresso powder in the chocolate makes the cocoa taste darker without turning the bars into coffee candy. You can also press a toasted almond on top of each coconut log before dipping. Serve these with Cinnamon Roll Bliss Bars when you want a sweet platter with both chocolate and bakery-style flavors.
Storage And Make-Ahead
Keep the finished bars in an airtight container in the refrigerator for up to one week. The FDA recommends keeping refrigerated foods at 40°F or below, and that same food storage guidance is a good habit for dairy-based sweets like these.
For longer storage, freeze the bars with parchment between layers. They thaw quickly and taste best while still slightly cold. If you are making a holiday box, add them straight from the fridge alongside sturdy sweets like Pecan Cheesecake Squares from 1st Recipes.
Summary
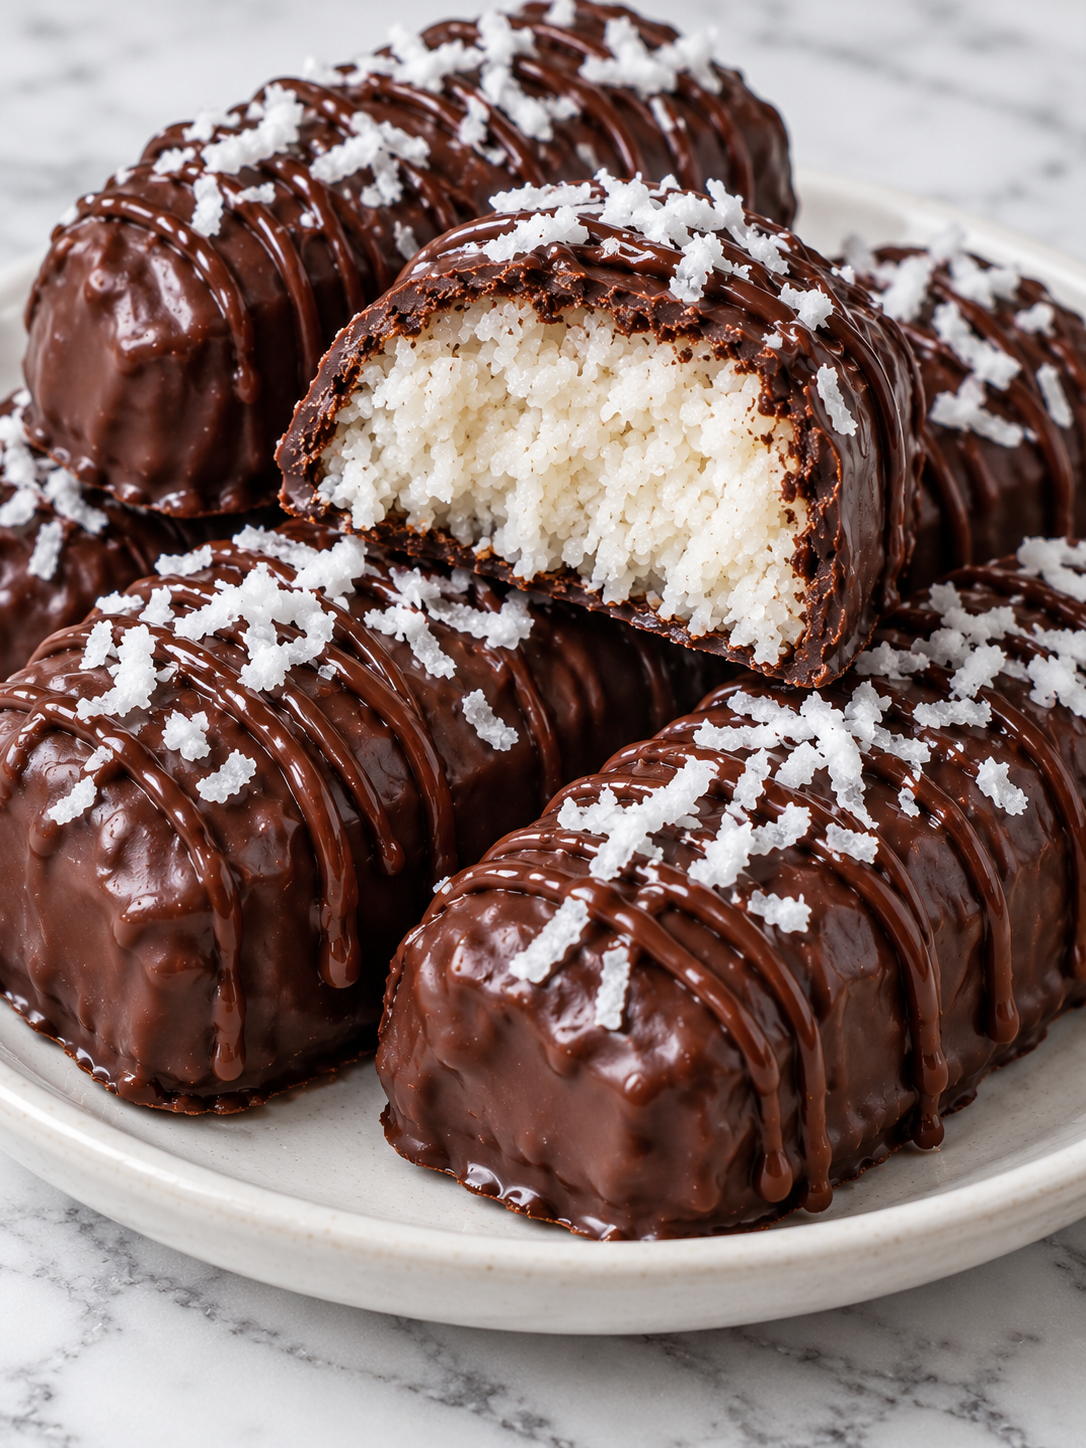
These no-bake coconut chocolate bars are simple, nostalgic, and easy to make ahead. Keep the filling firm, melt the chocolate slowly, and store the finished bars cold for the best bite.
Frequently Asked Questions
- Can I use sweetened coconut for homemade Mounds bars?
-
Yes, but the bars will be sweeter and softer. If you use sweetened coconut, start with a little less condensed milk and add more only if the mixture looks dry.
- Why are my coconut bars falling apart?
-
The filling is probably too dry or not chilled long enough. Add condensed milk one tablespoon at a time until the coconut packs together, then freeze the shaped bars until they feel firm before dipping.
- Can I make these dairy-free?
-
Yes. Use sweetened condensed coconut milk and a dairy-free dark chocolate. The filling may be a little looser, so give the bars extra freezer time before coating.
- Do homemade Mounds bars need to be refrigerated?
-
They keep their best texture in the refrigerator. Store them in an airtight container with parchment between layers so the chocolate stays firm and the coconut center stays chewy.
- Can I freeze homemade Mounds bars?
-
Yes. Freeze them in a sealed container for up to two months. Let them sit at room temperature for 5-10 minutes before serving so the coconut center softens slightly.
- Can I add almonds to this recipe?
-
You can press one toasted almond onto each chilled coconut bar before dipping. That makes it closer to an Almond Joy style treat while keeping the same base recipe.
