
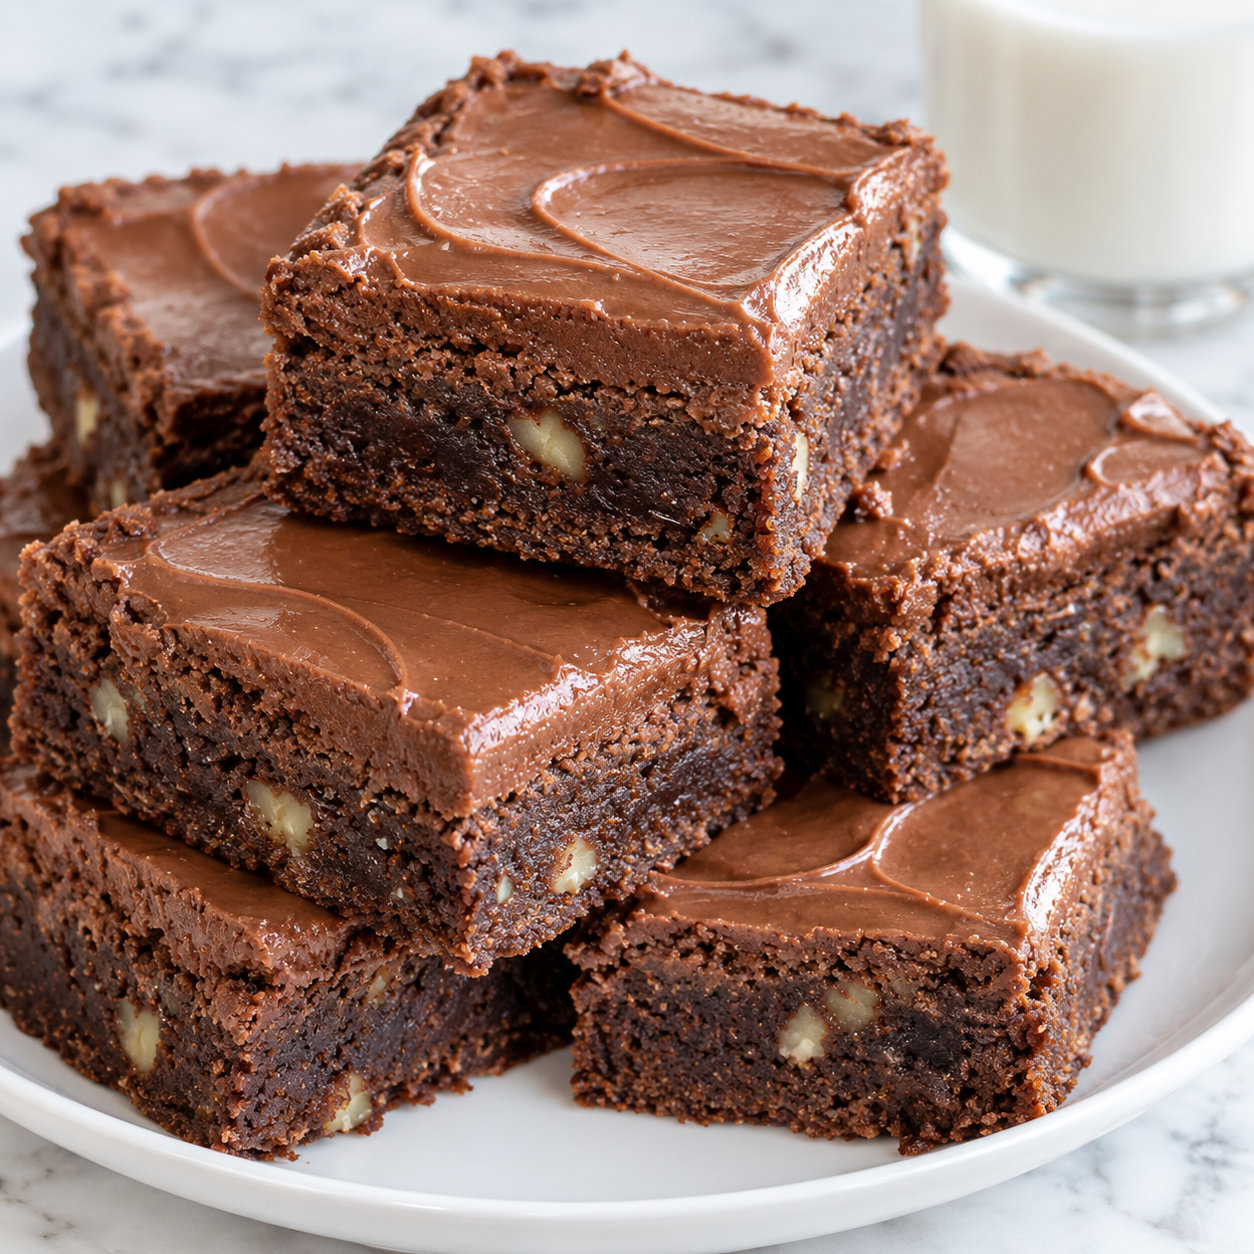
 Pin it
Lunch Lady Brownies are the kind of dessert that tastes like a square of memory. They are not fancy and they should not be. The charm is in the soft cocoa brownie, the thick frosting, and the way the top sets into a smooth chocolate layer you can slice cleanly.
This version keeps the old-school 9x13 pan style, but tightens the details that matter. Bloom the cocoa in warm butter, measure the flour lightly, and frost the brownies while they are warm instead of hot. That gives you a tender brownie that does not crumble under the icing.
Lunch Lady Brownies Pantry Lineup
The ingredient list is plain in the best way. Use fresh cocoa, real butter, and flour measured with a light hand so the brownies stay soft instead of heavy.
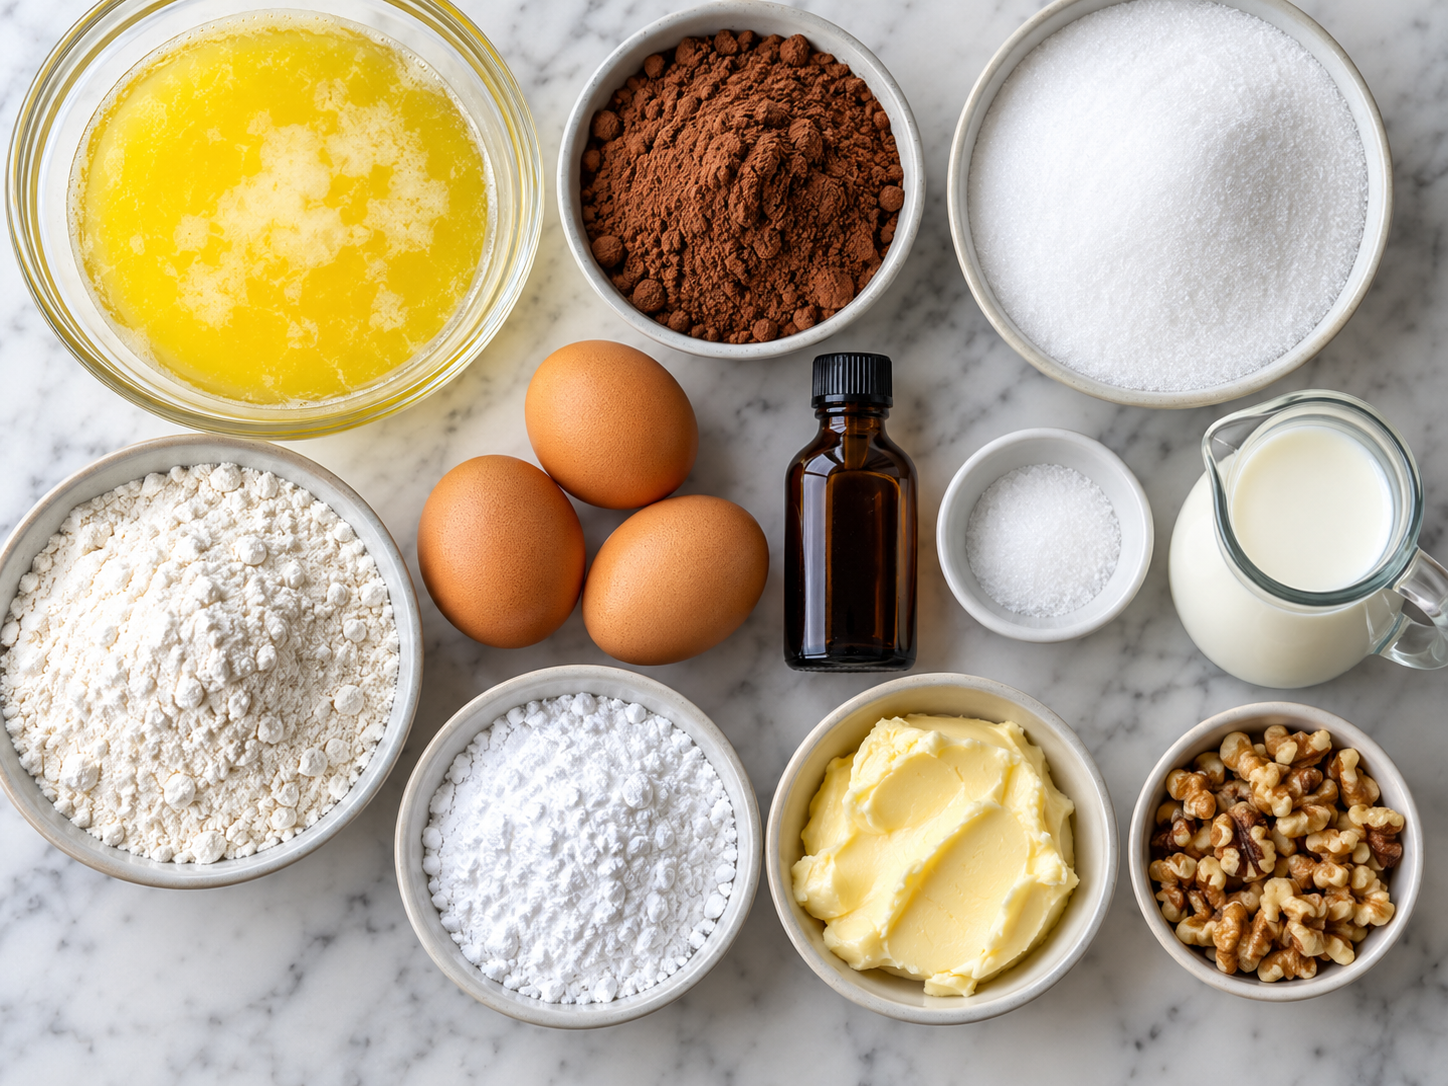
- Unsalted butter. Carries the cocoa flavor and keeps the brownie crumb moist.
- Unsweetened cocoa powder. Gives the brownies and frosting their deep chocolate flavor without needing melted chocolate.
- Granulated sugar. Sweetens the batter and helps the top bake with a little chew.
- Eggs. Bind the batter and give the brownies enough structure to slice into sturdy squares.
- Vanilla extract. Rounds out the cocoa so it tastes warmer and less flat.
- All-purpose flour. Holds the pan together. Too much flour is the fastest way to make dry brownies.
- Powdered sugar. Makes the frosting smooth and helps it set into that familiar glossy layer.
- Milk. Loosens the frosting so it pours and spreads over the warm brownie surface.
- Salt. Balances the sweetness in both the brownie and the frosting.
Bake, Frost, Slice Cleanly
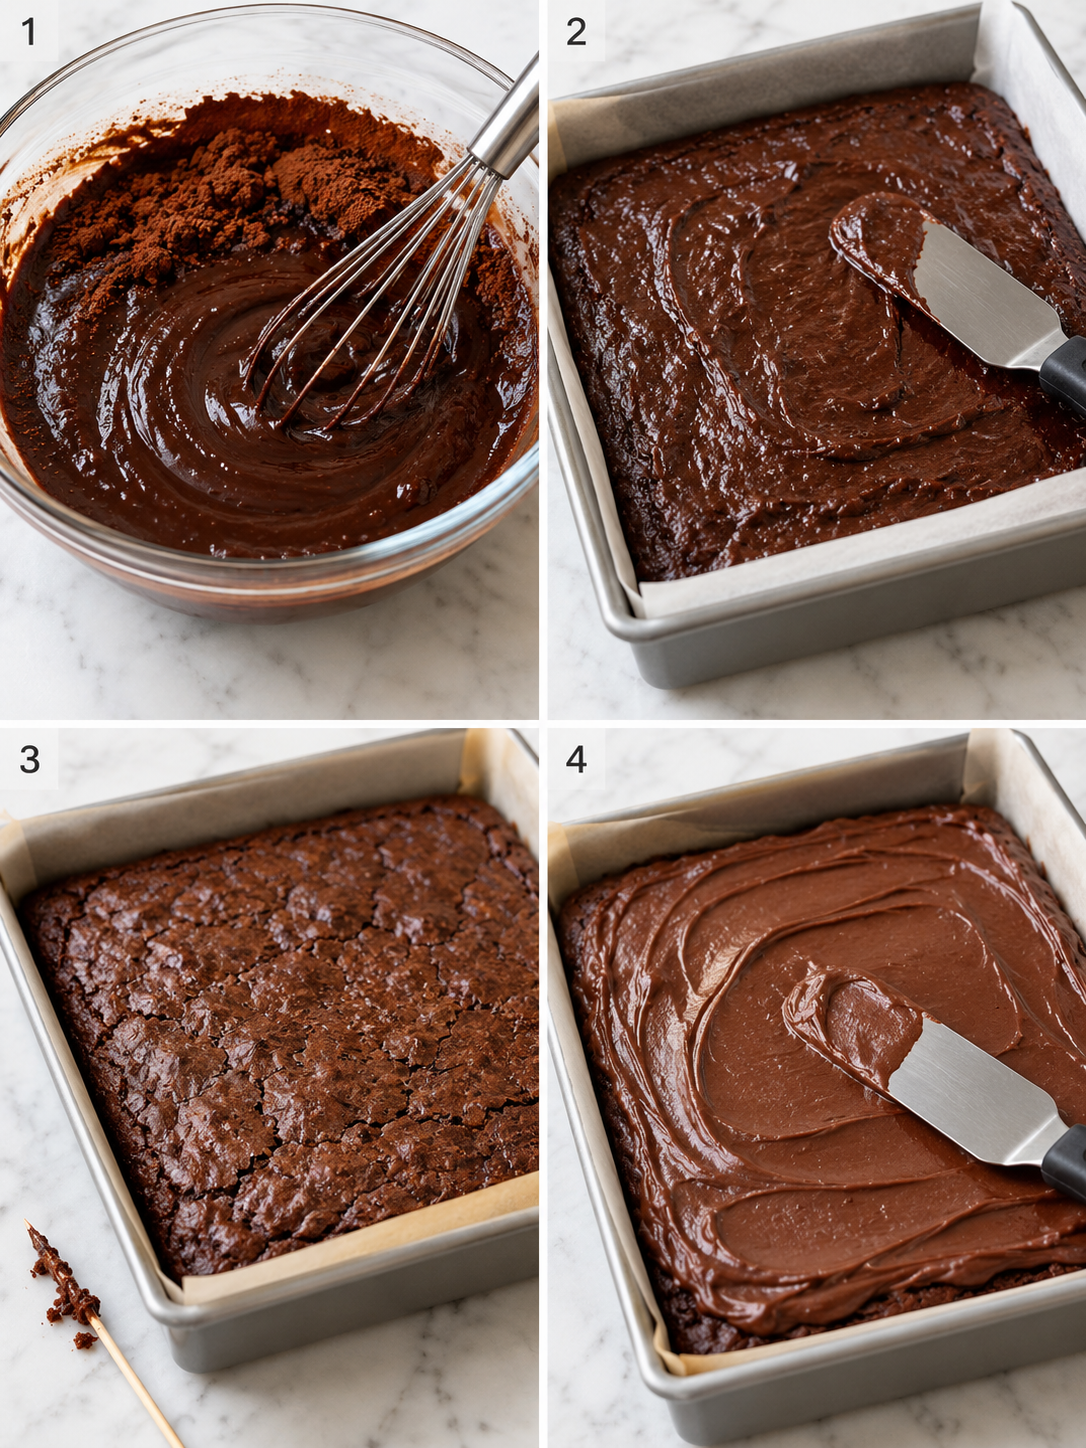
- Warm the oven. Heat the oven to 350 F and line a 9x13-inch metal pan with parchment. Leave overhang so the cooled slab lifts out easily.
- Bloom the cocoa. Whisk melted butter and cocoa until smooth and shiny. Let it cool for a few minutes so the eggs do not cook when added.
- Mix the batter. Beat in sugar, eggs, vanilla, and salt until glossy. Fold in the flour just until you no longer see dry streaks.
- Bake until set. Spread the thick batter into the pan and bake for 22-26 minutes. Pull it when a toothpick has moist crumbs, not wet batter.
- Make the frosting. Beat softened butter, cocoa, powdered sugar, milk, vanilla, and salt until smooth. Add milk a teaspoon at a time if it feels too stiff.
- Frost while warm. Rest the brownies for 15 minutes, then spread the frosting over the warm top. Cool completely before cutting into squares.
The Warm Frosting Trick
The frosting is what separates Lunch Lady Brownies from a regular pan of cocoa brownies. It should go on when the brownies are warm enough to slightly soften it, but not so hot that the butter melts out. That timing gives the top a smooth finish and helps the frosting cling to the brownie instead of sliding around.
I like to set a timer for 15 minutes after the pan comes out of the oven. At that point the top is warm to the touch and the center has started to settle. Spread the frosting gently from the middle outward. If you drag too hard, the top crust can tear and leave crumbs in the icing. For another rich chocolate bake with a different texture, try Gooey Brownie Pie.
Cocoa Makes The Flavor
These brownies get all their chocolate flavor from cocoa powder, so the kind you choose matters. Natural cocoa tastes lighter and more classic. Dutch-process cocoa bakes up darker with a smoother chocolate note. King Arthur Baking has a useful guide to different cocoa powders if you want to compare them before baking.
Whisking cocoa into warm butter also helps. The powder hydrates and turns glossy before the flour joins the bowl. That small step makes the chocolate taste fuller without adding more ingredients. Do not rush the cooling time after this step. Butter that is too hot can make the eggs streaky and tighten the texture.
Measure Flour Gently
Brownies are forgiving, but flour is not. A packed cup can add several extra tablespoons, and that changes soft cafeteria-style squares into dry cake. If you use a scale, 1 1/2 cups all-purpose flour is about 180 grams based on the King Arthur ingredient weight chart. If you measure by volume, spoon the flour into the cup and level it off.
Once the flour goes in, mix only until the streaks disappear. Extra beating develops gluten and makes the crumb bouncy instead of tender. This is a good bake-sale pan because it cuts into 24 tidy squares, especially if you chill it briefly before slicing. For a dessert tray, pair it with Pecan Cheesecake Squares and something bright like Homemade Lemon Meringue Pie.
Safe Batter Habits
The batter smells like chocolate frosting before it ever hits the oven, but skip the spoonful. The CDC notes that raw flour and raw eggs can carry germs, so brownie batter should be baked before eating. Their raw dough safety guidance is worth knowing if you bake with kids or prep desserts often.
Keep the process simple. Scrape the batter into the pan, wash the bowl and spatula, and let the oven do the work. Once baked and frosted, the brownies are easy to share. Cover the pan tightly after the frosting sets. They stay soft at room temperature for about 4 days, though the edges usually disappear first.
Swaps And Small Upgrades
For a slightly deeper flavor, replace 1/2 cup of the granulated sugar with packed light brown sugar. The brownies will be a little more moist and a touch chewier. A teaspoon of instant espresso powder can sharpen the cocoa without making the pan taste like coffee. Chopped walnuts are very cafeteria-style if that is how you remember them.
Keep the frosting simple if nostalgia is the goal. Heavy cream can replace the milk for a richer top, but milk gives the clean, sweet finish most people expect from Lunch Lady Brownies. If you need a gluten-free version, use a measure-for-measure gluten-free flour blend by weight and check the pan early. The texture will be a bit more delicate, so let the slab cool fully before lifting it out.
Summary
These brownies are best after the frosting has fully set, but the first warm corner is hard to resist.
Frequently Asked Questions
- Why are they called Lunch Lady Brownies?
-
The name comes from the frosted brownies many people remember from school cafeteria trays. They are usually baked in a large pan, cut into simple squares, and topped with a cocoa frosting that sets softly on top.
- Can I use Dutch-process cocoa powder?
-
Yes. This brownie recipe does not rely on baking soda, so Dutch-process cocoa will still work. Natural cocoa gives a lighter, more old-fashioned flavor, while Dutch-process cocoa tastes darker and smoother.
- Why should the brownies be warm before frosting?
-
Warm brownies soften the frosting just enough to help it spread and settle into a glossy layer. If the brownies are steaming hot, the frosting can turn loose. If they are completely cool, the frosting will sit thicker and look more matte.
- How do I cut Lunch Lady Brownies cleanly?
-
Let the frosting set fully first. For very neat squares, chill the pan for 10-15 minutes, then cut with a warm knife and wipe the blade between slices.
- Can I make these brownies ahead?
-
Yes. They are a strong make-ahead dessert because the frosting firms as it rests. Bake and frost them the day before, then cover the pan tightly and keep it at room temperature.
- Can I add nuts or chocolate chips?
-
You can fold in 1/2 cup chopped walnuts or pecans after the flour disappears. Mini chocolate chips also work, but keep them modest so the brownies still slice like the cafeteria version.
- How should I store frosted brownies?
-
Store them covered at room temperature for up to 4 days. Refrigeration makes the frosting firmer and can dry the crumb, so use the fridge only if your kitchen is very warm.
